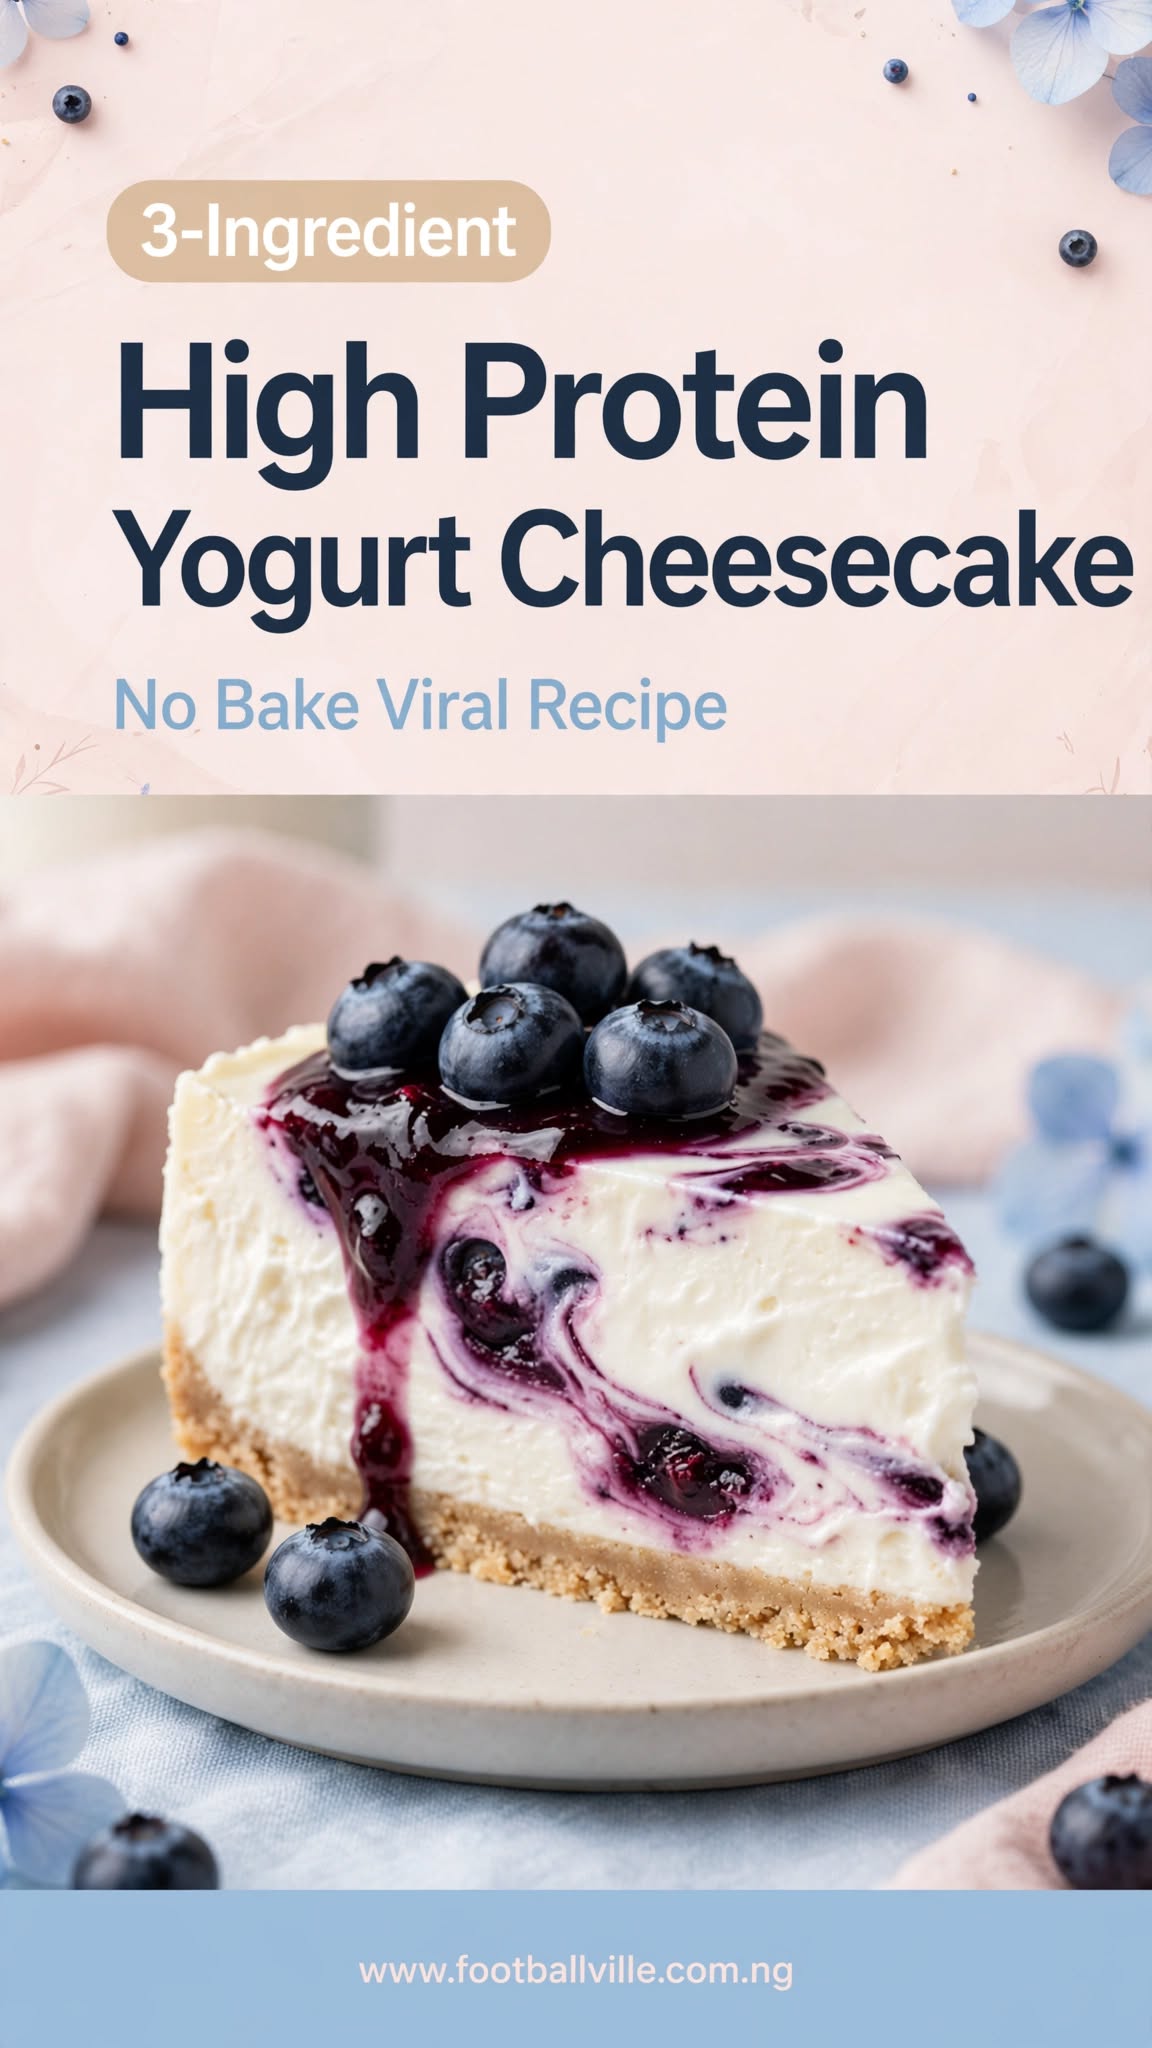

If you’re on the search for a sweet treat that feels like a total cheat meal but actually fits seamlessly into your daily protein goals, stop scrolling. This 3-Ingredient High Protein Yogurt Cheesecake is about to become your new late-night hyperfixation dessert.
It’s completely no-bake, takes less than 5 minutes of actual effort, and delivers that rich, velvety cheesecake texture with zero oven drama or water baths required.
Why This Recipe Is Going Viral
* 3 Simple Base Ingredients: No complicated grocery runs or obscure ingredients.
* Massive Protein Boost: Packed with over 25g–30g of protein per serving depending on your yogurt and powder choice.
* Zero Oven Needed: Perfect for hot days or when you don’t want to wait an hour for a baked cheesecake to chill.
* Meal-Prep Friendly: Whip up 3 or 4 jars on Sunday night for healthy, grab-and-go treats all week long.
The 3 Core Ingredients
To get that ultra-thick, luscious cheesecake consistency without gelatin or baking, quality ingredients make all the difference:
* 1 Cup Plain Non-Fat Greek Yogurt (or Icelandic Skyr): Skyr or thick Greek yogurt provides the tangy foundation and the bulk of the protein.
* 1 Scoop Vanilla Whey/Casein Protein Powder: A whey-casein blend works best here because casein absorbs liquid and expands, creating a thick, mousse-like structure.
* 1 Package (30g) Instant Sugar-Free Cheesecake Pudding Mix: This is the secret weapon! It sets the yogurt instantly and gives it that authentic, rich cheesecake flavor.
Macro & Ingredient Breakdown
How to Make It (Step-by-Step)
1. Combine the Base
Get it completely smooth
In a medium mixing bowl, add 1 cup of thick Greek yogurt, 1 scoop of vanilla protein powder, and 1 tablespoon (about 8-10g) of the sugar-free instant cheesecake pudding mix.
2. Whip Until Silky
Patience pays off here
Use a small hand whisk or electric hand mixer to beat the mixture vigorously for 1 to 2 minutes. The pudding mix will react with the moisture in the yogurt and start setting almost immediately.
3. Chill to Set
Optional for max texture
Spoon the thick mixture into a ramekin or small glass jar. While you can eat it immediately, chilling it in the fridge for 20–30 minutes lets it set into an insanely thick, sliceable consistency.
4. Top and Serve
Get creative!
Add your favorite healthy toppings right before serving and enjoy!
Favorite Topping Combinations
While the base is incredible on its own, a simple crust or topping takes it straight to bakery level:
* The Classic Berry: A spoonful of warm, crushed raspberries or blueberries with a pinch of lemon zest.
* The Graham Cracker Crunch: Crush 1 sheet of low-fat graham crackers over the top right before eating for that authentic pie-crust bite.
* The Chocolate Peanut Butter: A drizzle of melted dark chocolate and a swirl of powdered peanut butter (PB2).
> Pro Tip: If your protein powder makes the mixture feel a little too thick or chalky, splash in 1 to 2 tablespoons of unsweetened almond milk while whisking until you reach your desired smoothness.
>
Save this pin to your healthy dessert board for your next sweet craving!
